The Complete Beginner’s Guide to Wood Filler
/
Wood Filler
Disclaimer: As an Amazon Associate I earn from qualifying purchases. There are affiliate links in this post. This means that at no cost to you, I will receive a commission if you purchase through my link. I will only ever promote the products and services that I trust and 100% recommend. You may read my full disclosure policy for more information. Thank you for supporting my business in this way.
Keeping some wood filler on hand is a must for any woodworker. With it, you can deftly hide blemishes and cracks in your wood. Once you’ve finished and stained your piece, you won’t even notice that it’s there — almost like magic.
What is Wood Filler?
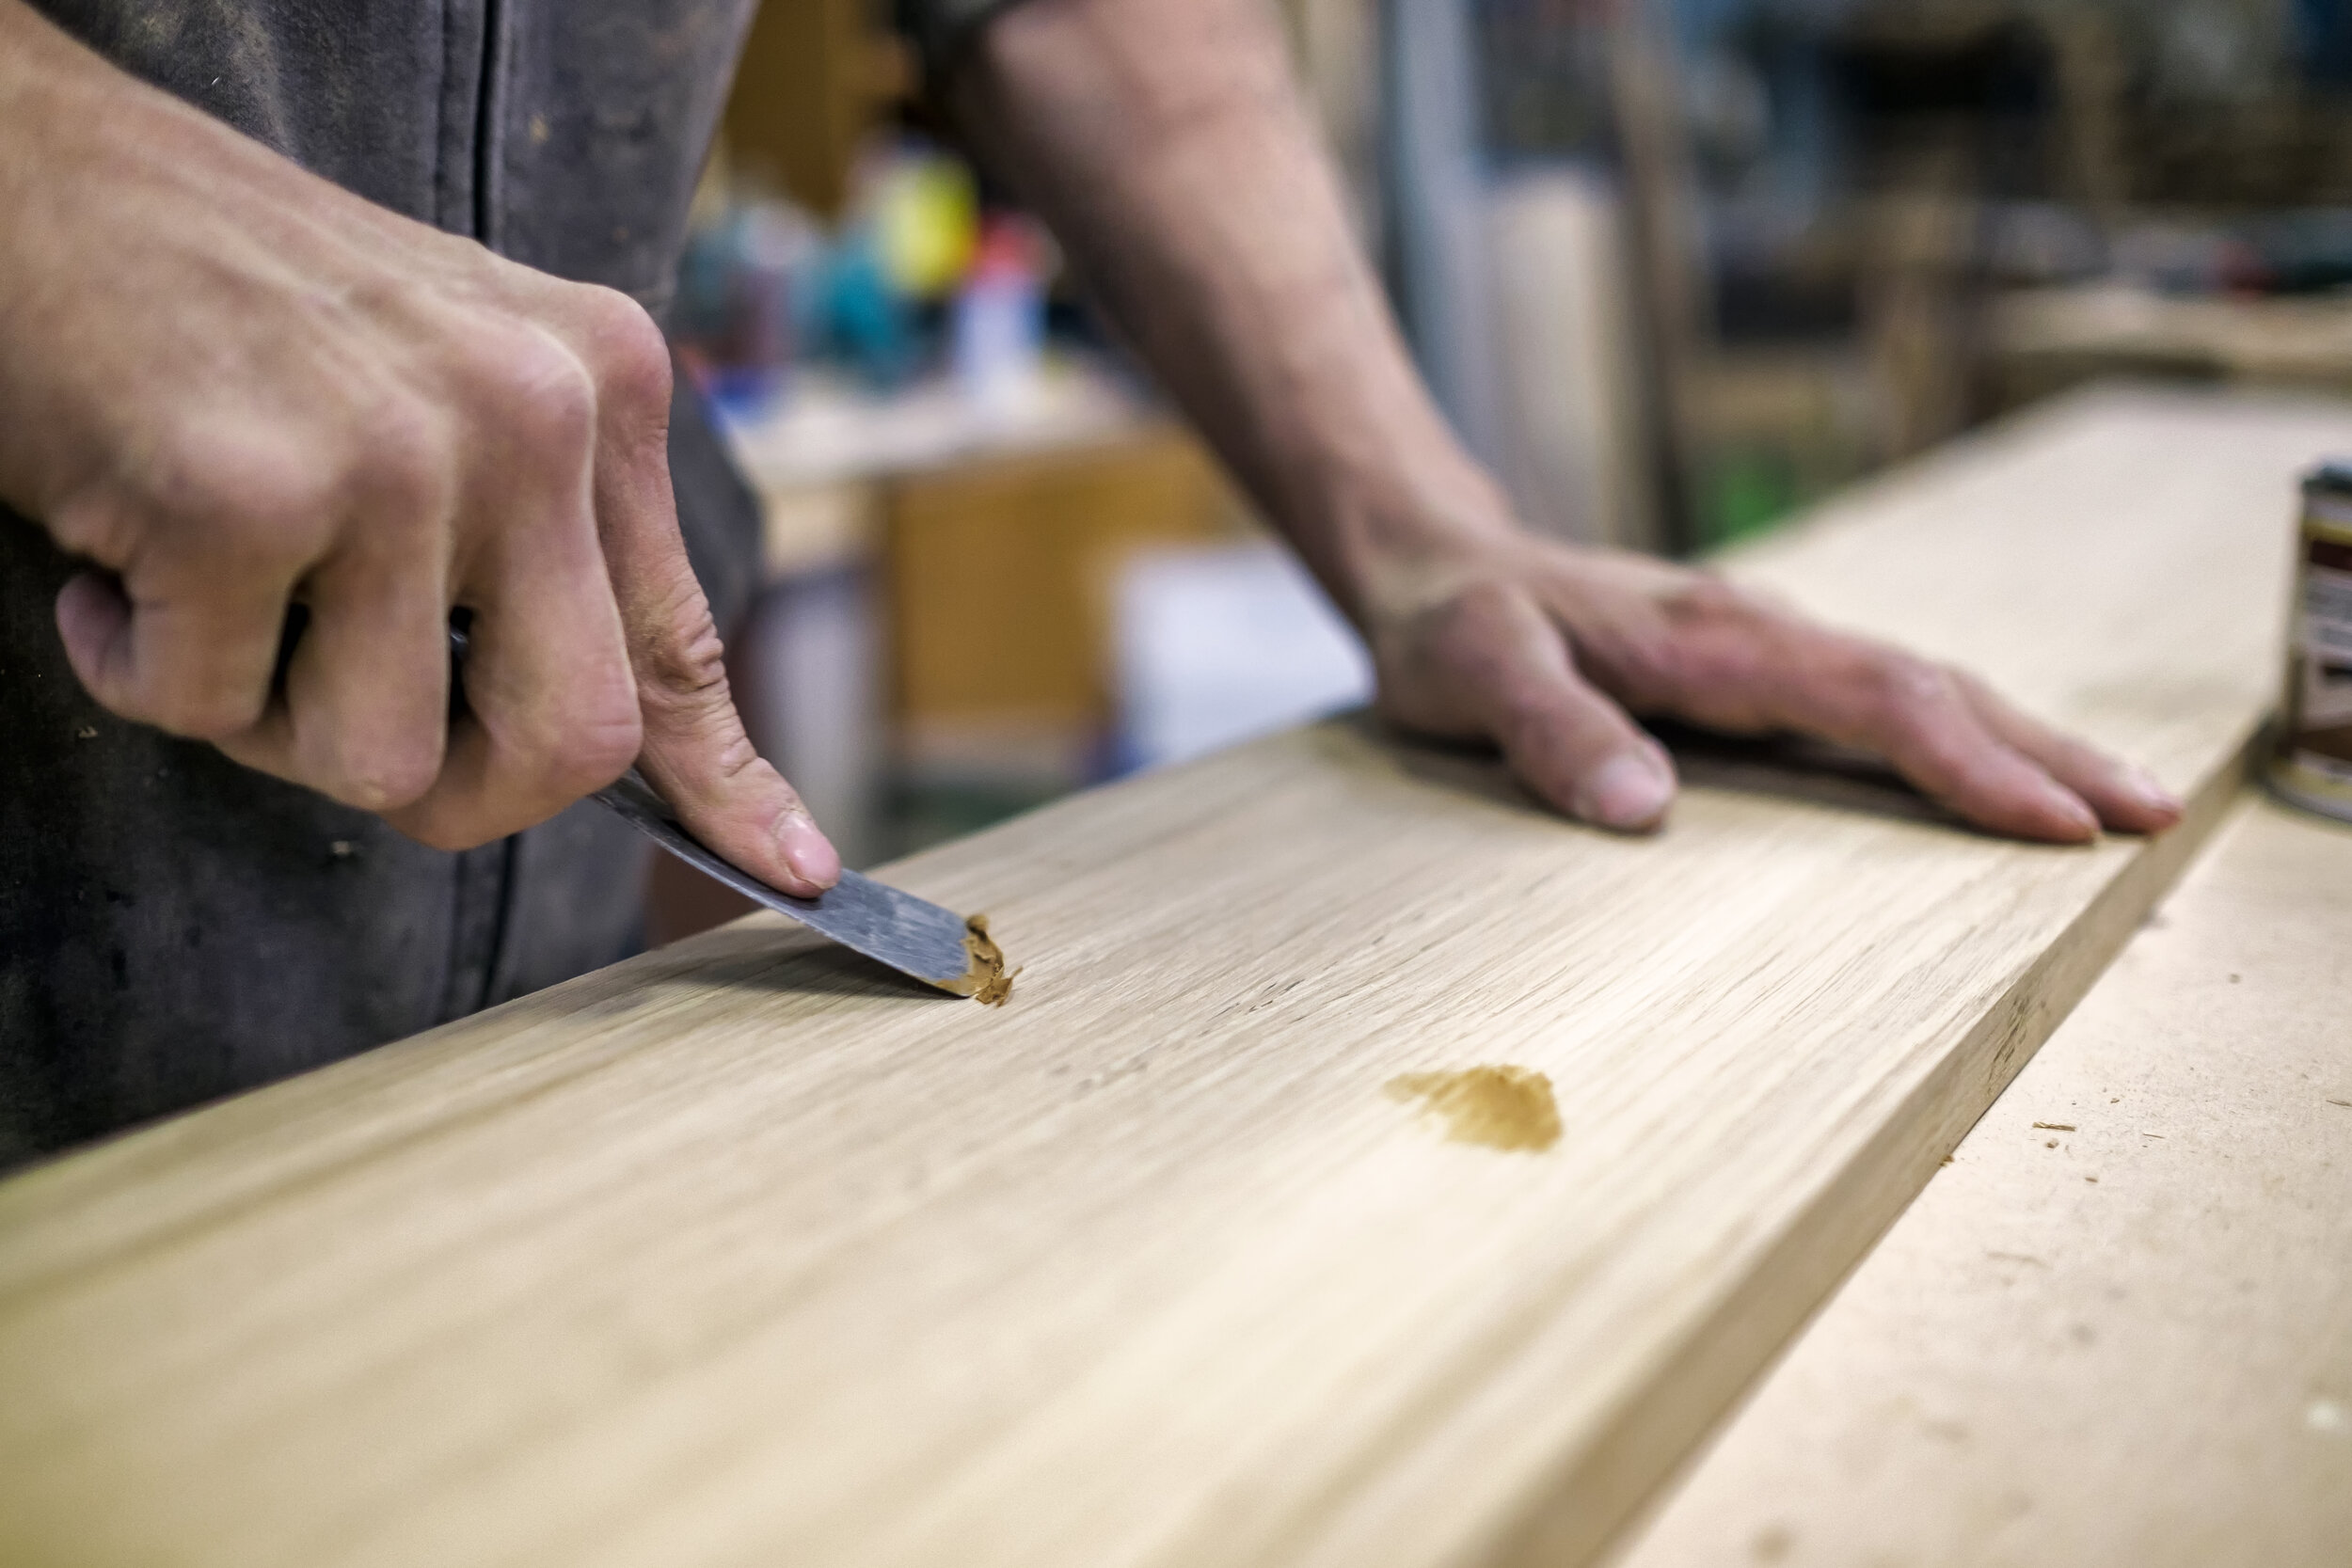
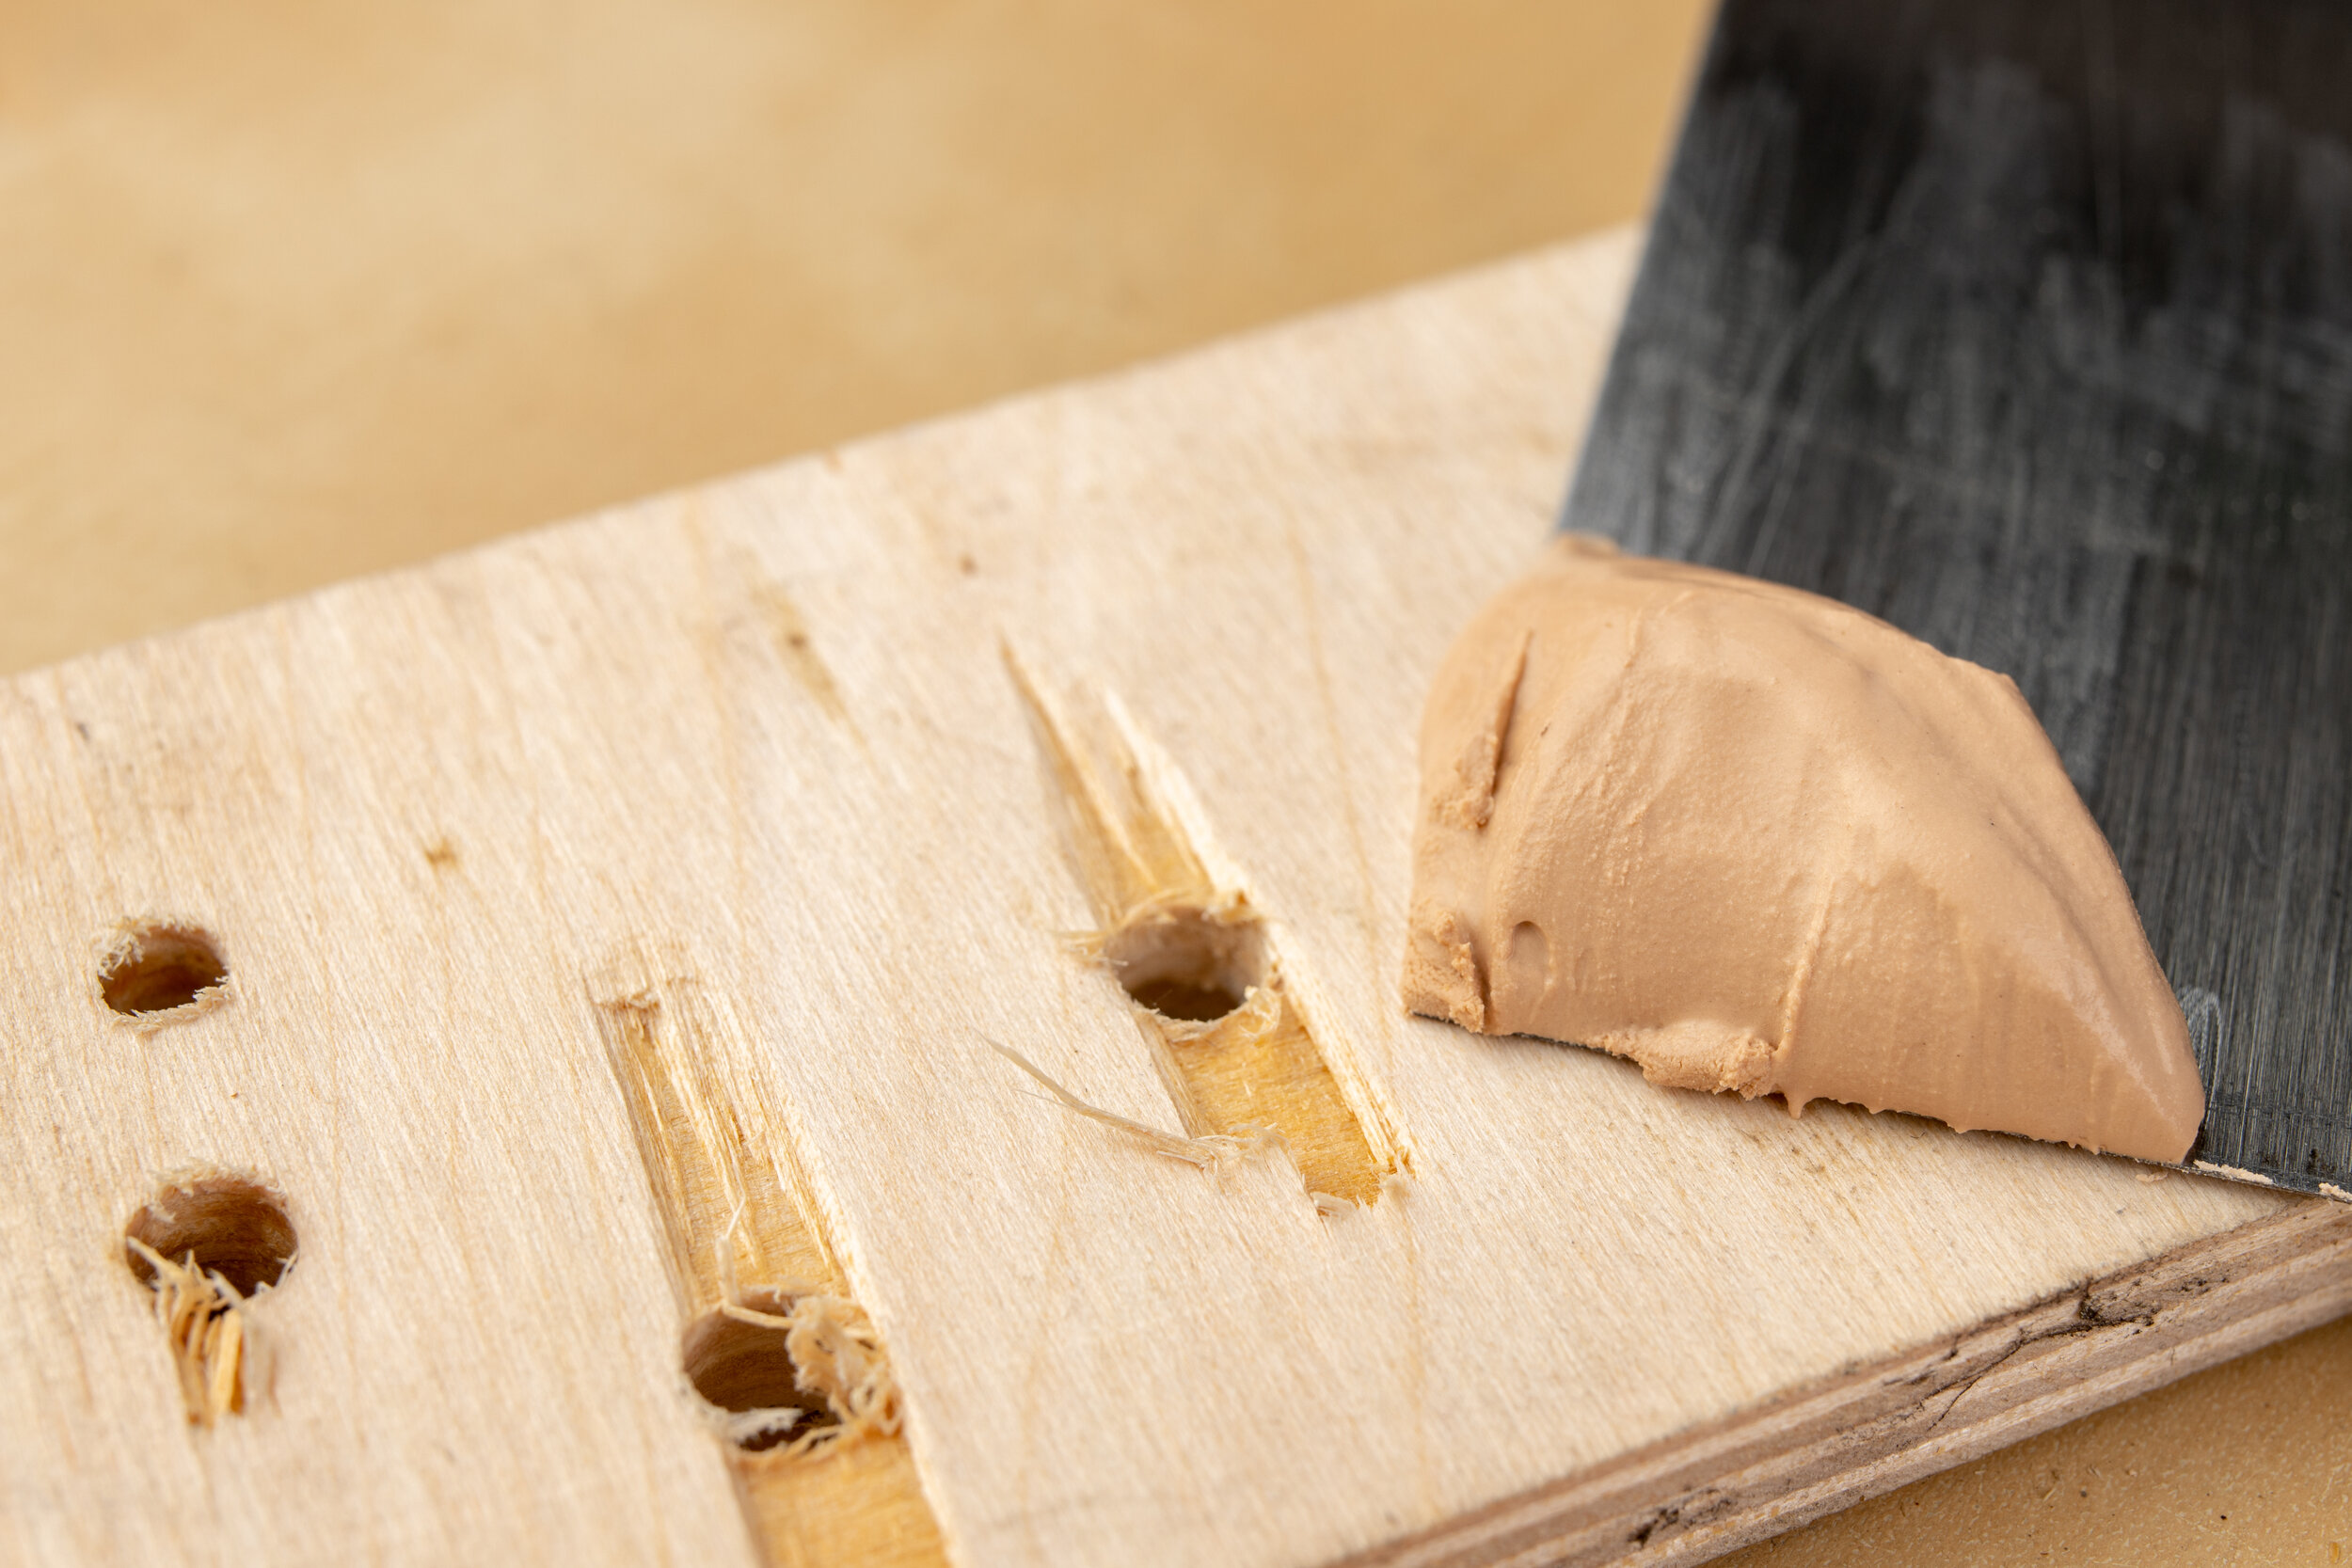
Like its name suggests, wood filler is a product that is used to fill holes, pores, cracks, blemishes, and seams in a piece of wood. It’s not just for amateurs: even the most experienced craftsmen face imperfections in their wood and rely on this product to smooth out the rough edges.
RELATED:
The 10 Best Wood Glues
The 10 Best Random Orbital Sanders
A Complete Guide to Parquet Flooring
Wood filler is made from wood byproducts that allow it to be painted and stained to match your wood type. It comes in a wide range of textures, consistencies, and drying rates. Knowing the difference between the types of wood filler will help you to choose the best one for your project.
Check out this brief video for some additional tips:
Wood Filler Versus Wood Putty
First of all, it’s important to know what distinguishes wood filler from wood putty. You will hear these two terms used as if they are one. And for many purposes, the meanings are interchangeable. However, they are not the same product.
Wood putty, also referred to as plastic wood, is generally made from synthetic materials and applied to wood after it has been stained or finished. It’s more flexible than wood filler and has a clay-like texture. Most of the time, woodworkers use putty to fill small holes or fix small blemishes in wood. For example, if you need to fill in the recesses left by nails driven into your wood, wood putty will be an easy and cost-effective way to do it.
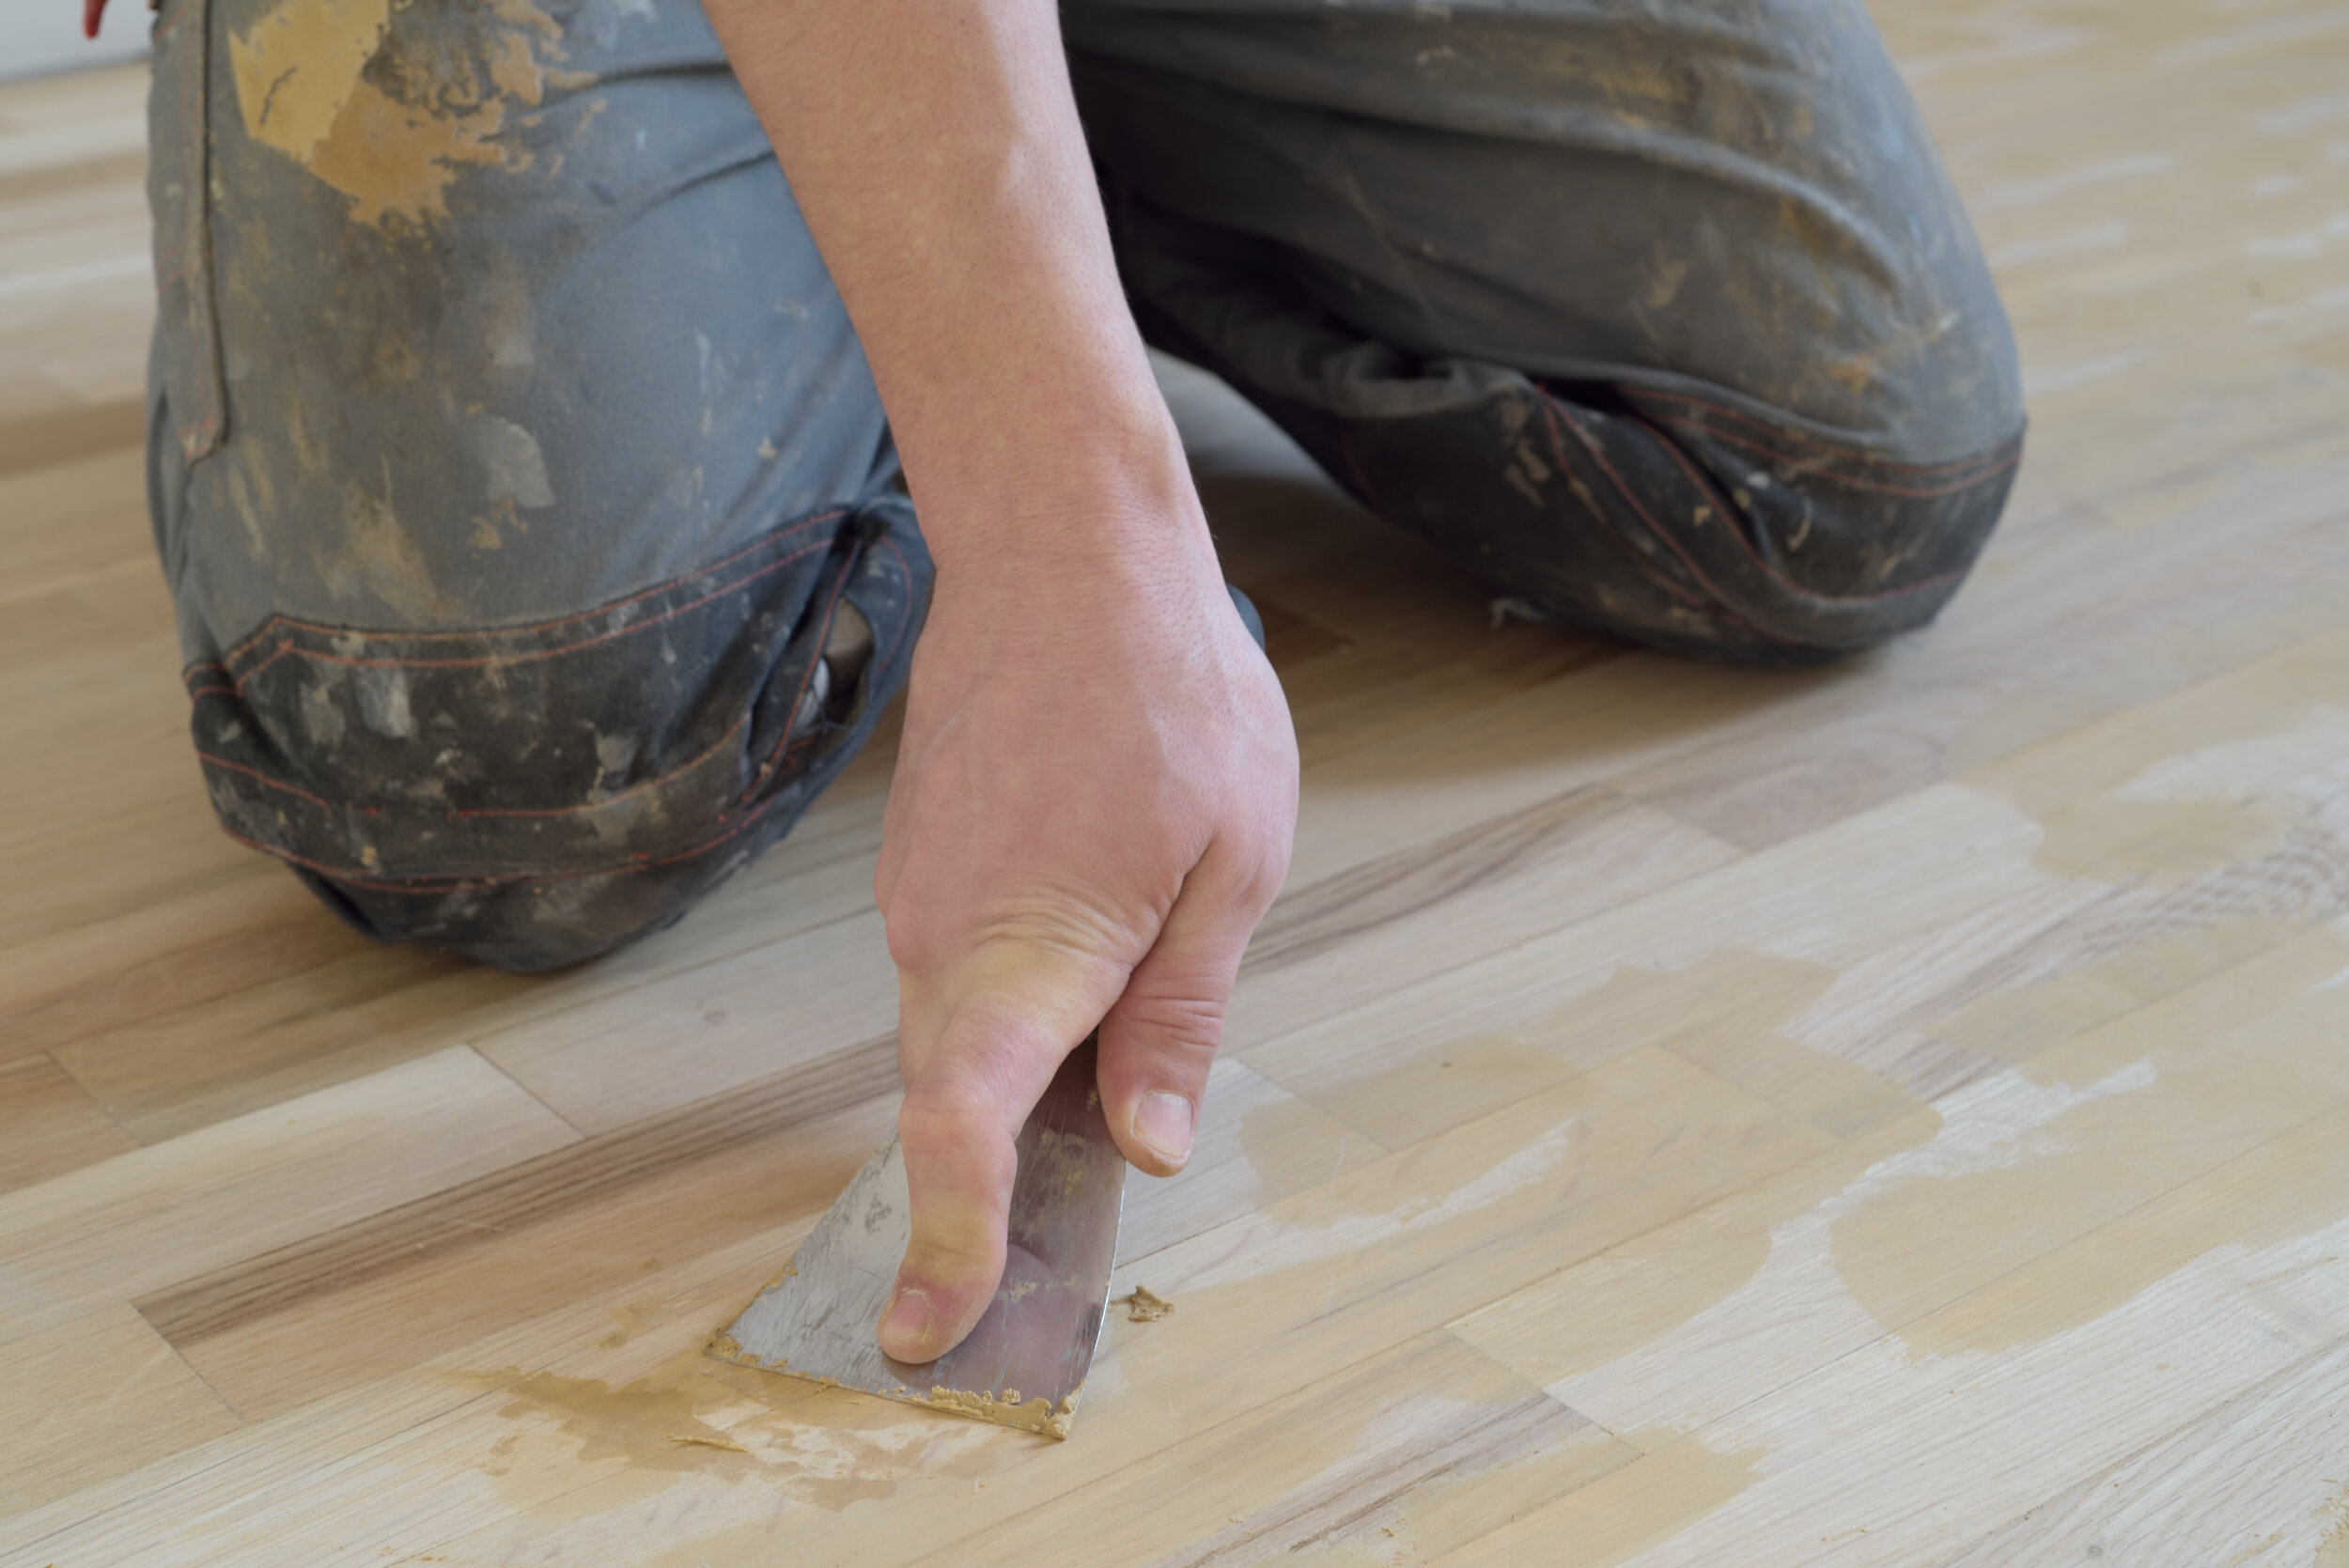
Wood filler, on the other hand, is made from wood byproducts such as sawdust or wood dust. It can be stained and sanded just like regular wood, so you should always apply wood filler before applying a finish. It can be either water-based or petroleum-based — the former is used indoors while the latter can be used outdoors.
If you need to fill in large holes or fix large blemishes in your wood, wood filler is the best choice. It dries harder than putty and will form a strong bond to the wood. Be aware that wood filler will not do anything to improve the structural integrity of your piece, however.
What Kind of Wood Filler Should I Use?
Not all wood fillers are created equal, and it’s important to choose a product that is right for your project. To do this, you’ll need to pay attention to the filler base, consistency, compatible materials, dry time, color, and packaging.
Filler Base
Wood fillers are typically either solvent-based or water-based. For outdoor projects such as patio furniture or decking, you’ll want to use a solvent or petroleum-based filler. They have extremely durable weather-resistant properties to keep them looking great in all kinds of weather. However, they also may release odors or fumes if they get wet, so you’re better off not using them indoors. Use a water-based filler for indoor projects.
Consistency
Thick fillers are used to fill larger cracks or holes, while thin fillers are generally used to fill the pores of open-grain woods. You may need to fill the pores in your wood for a variety of reasons. Maybe there are pits in your unfinished cabinets, or perhaps you are finishing a dining room table, desk, or coffee table where it’s important to have a smooth surface. For these projects, look for a filler with a thin consistency. If you’re really in a rush and you already have a thick filler on hand, you can make do by thinning it with water.
Compatible Materials
Many epoxy wood fillers do not work well on softwoods such as cedar or fir. Others are built to be used with all types of wood and even other materials such as concrete. You’ll also want to check to see if the wood filler is easy to stain, paint, varnish, drill, or sand.
Dry Time
Water-based wood fillers typically dry much faster than their solvent-based counterparts, making them more difficult to work with. If you are an absolute beginner, try to start with a project that allows you to use a solvent-based filler.
Color
Choose a white or clear wood filler if you plan to paint, stain, or varnish the filler along with your woodwork. Remember that most wood fillers can be painted or stained, but many wood putties should be applied to a finished piece.
Wood fillers also come in a variety of colorful shades to match the color of your wood. If you are repairing a crack or filling a hole in a finished piece, choose a wood filler that is as close as possible to the shade of your wood.
Pro Tip: If you can’t find your shade, pick a wood filler in a contrasting color to make a statement.
Packaging

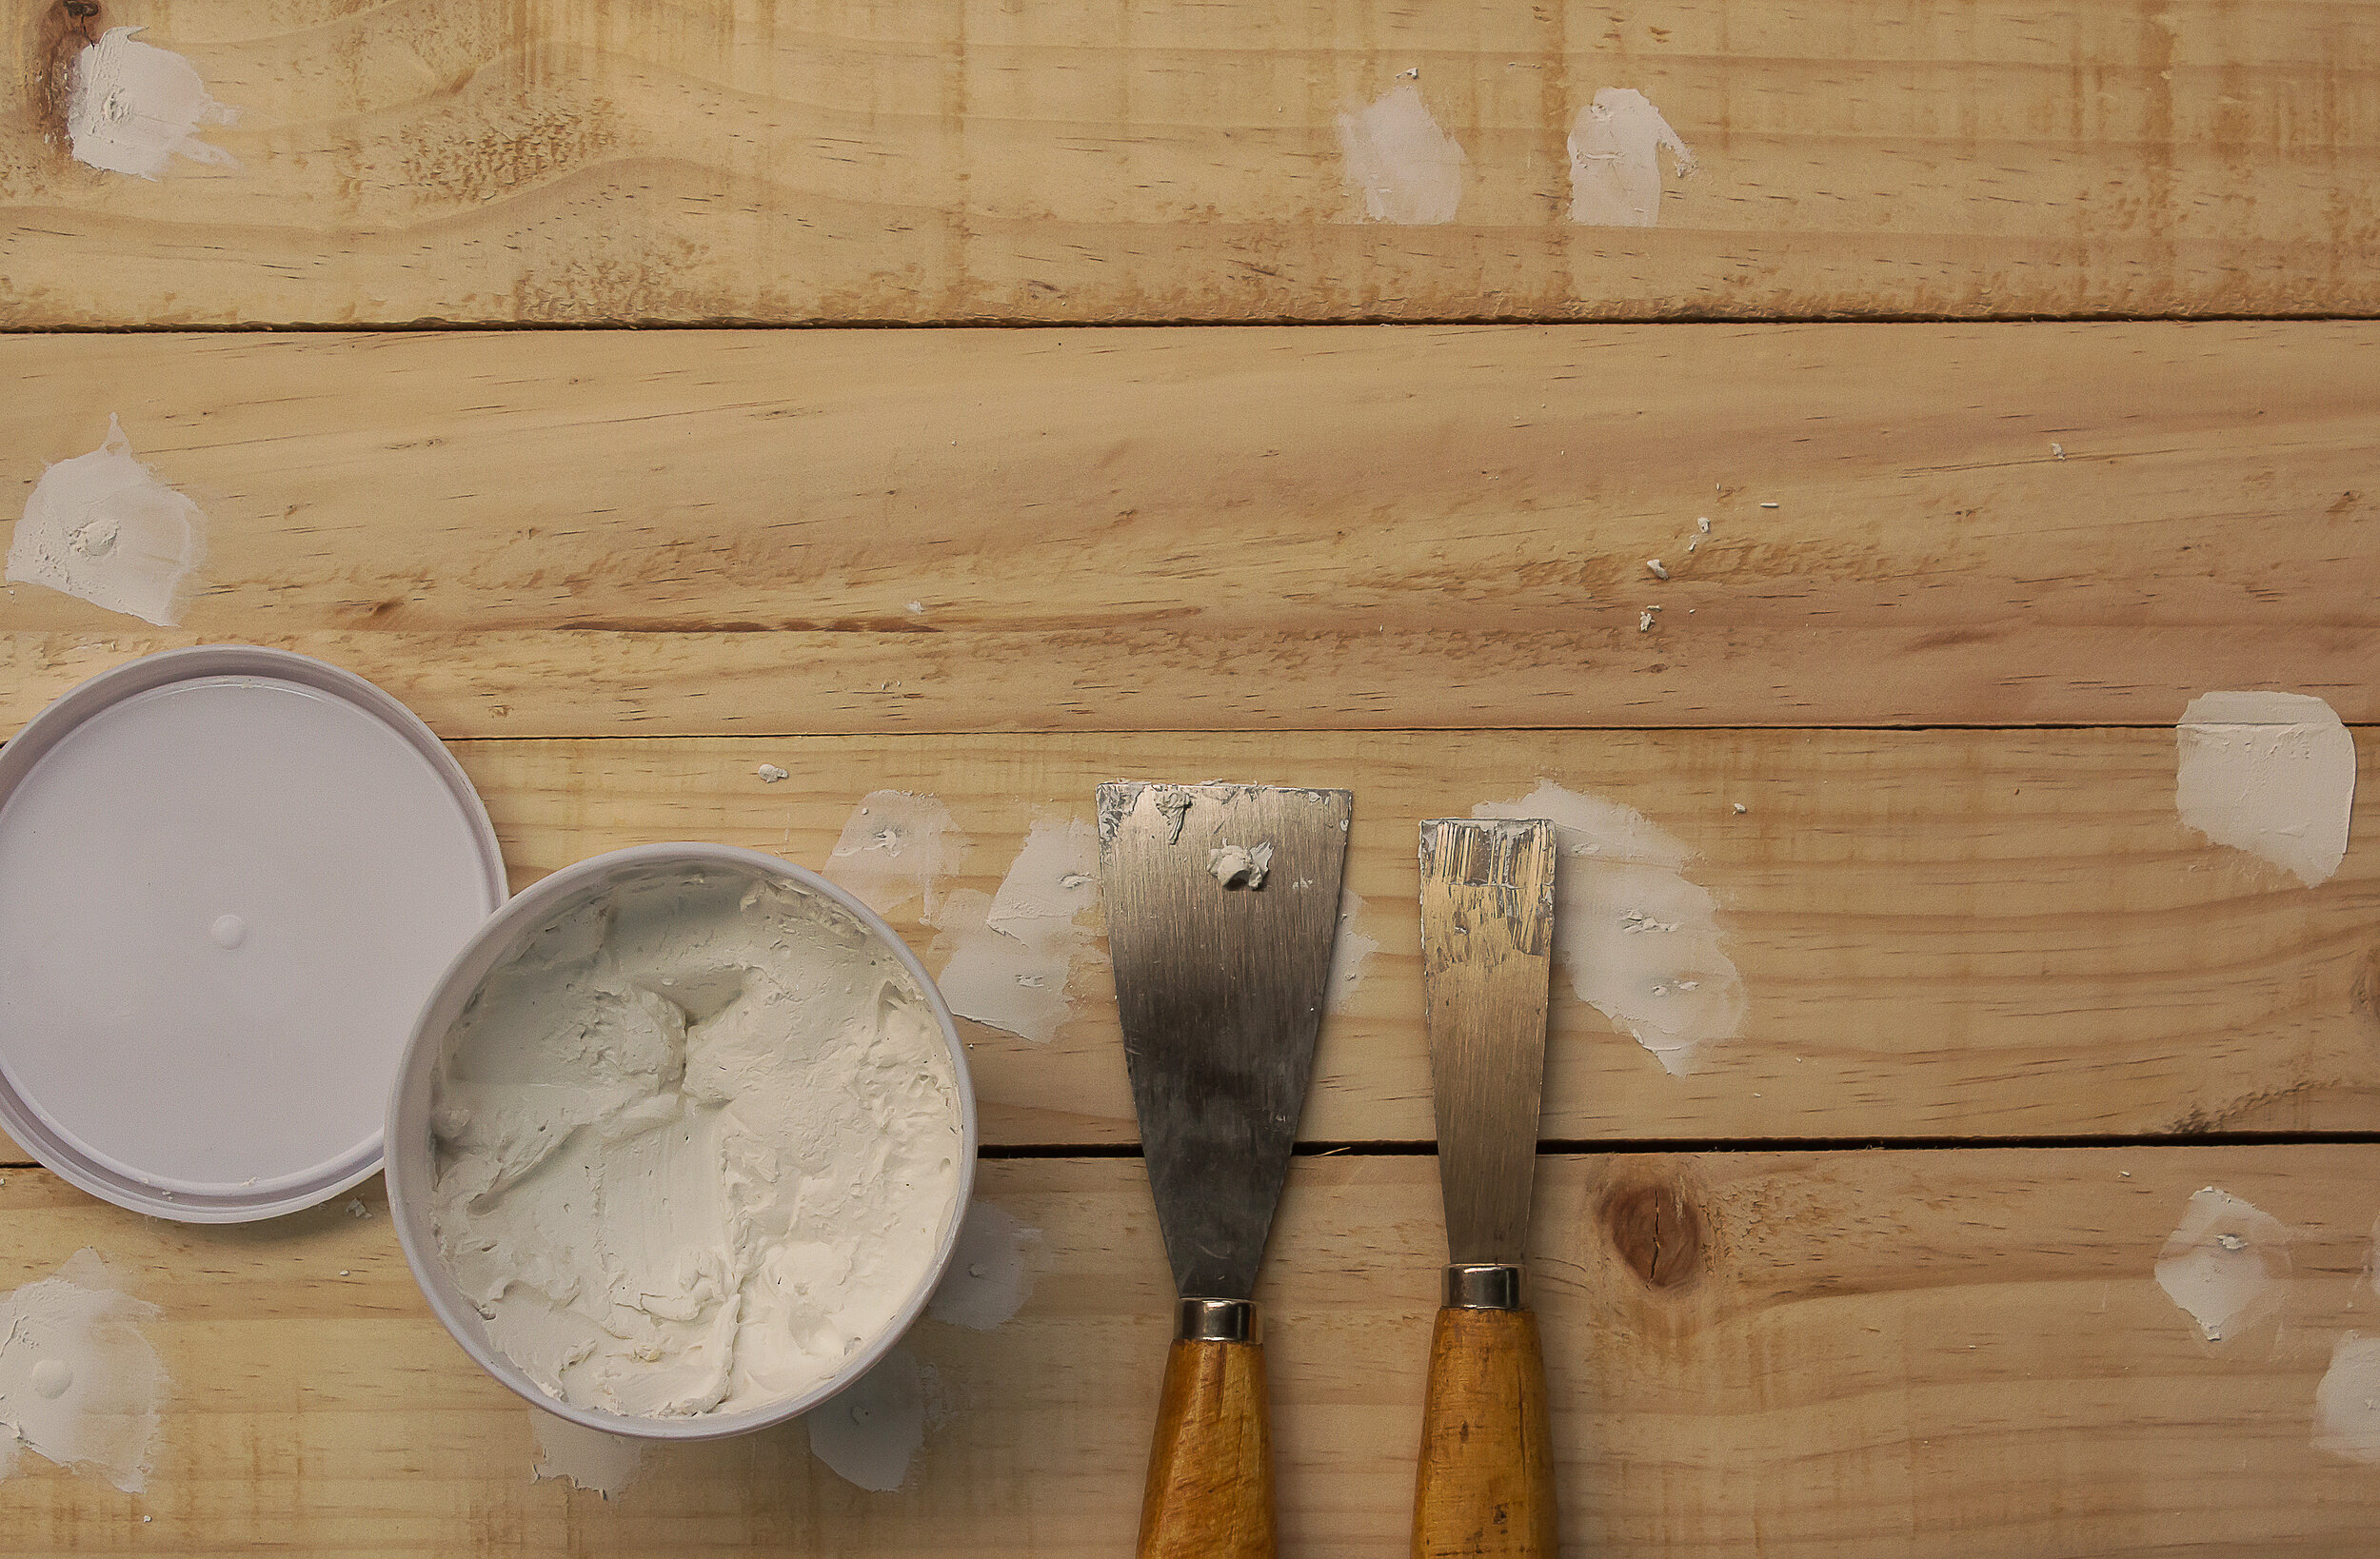
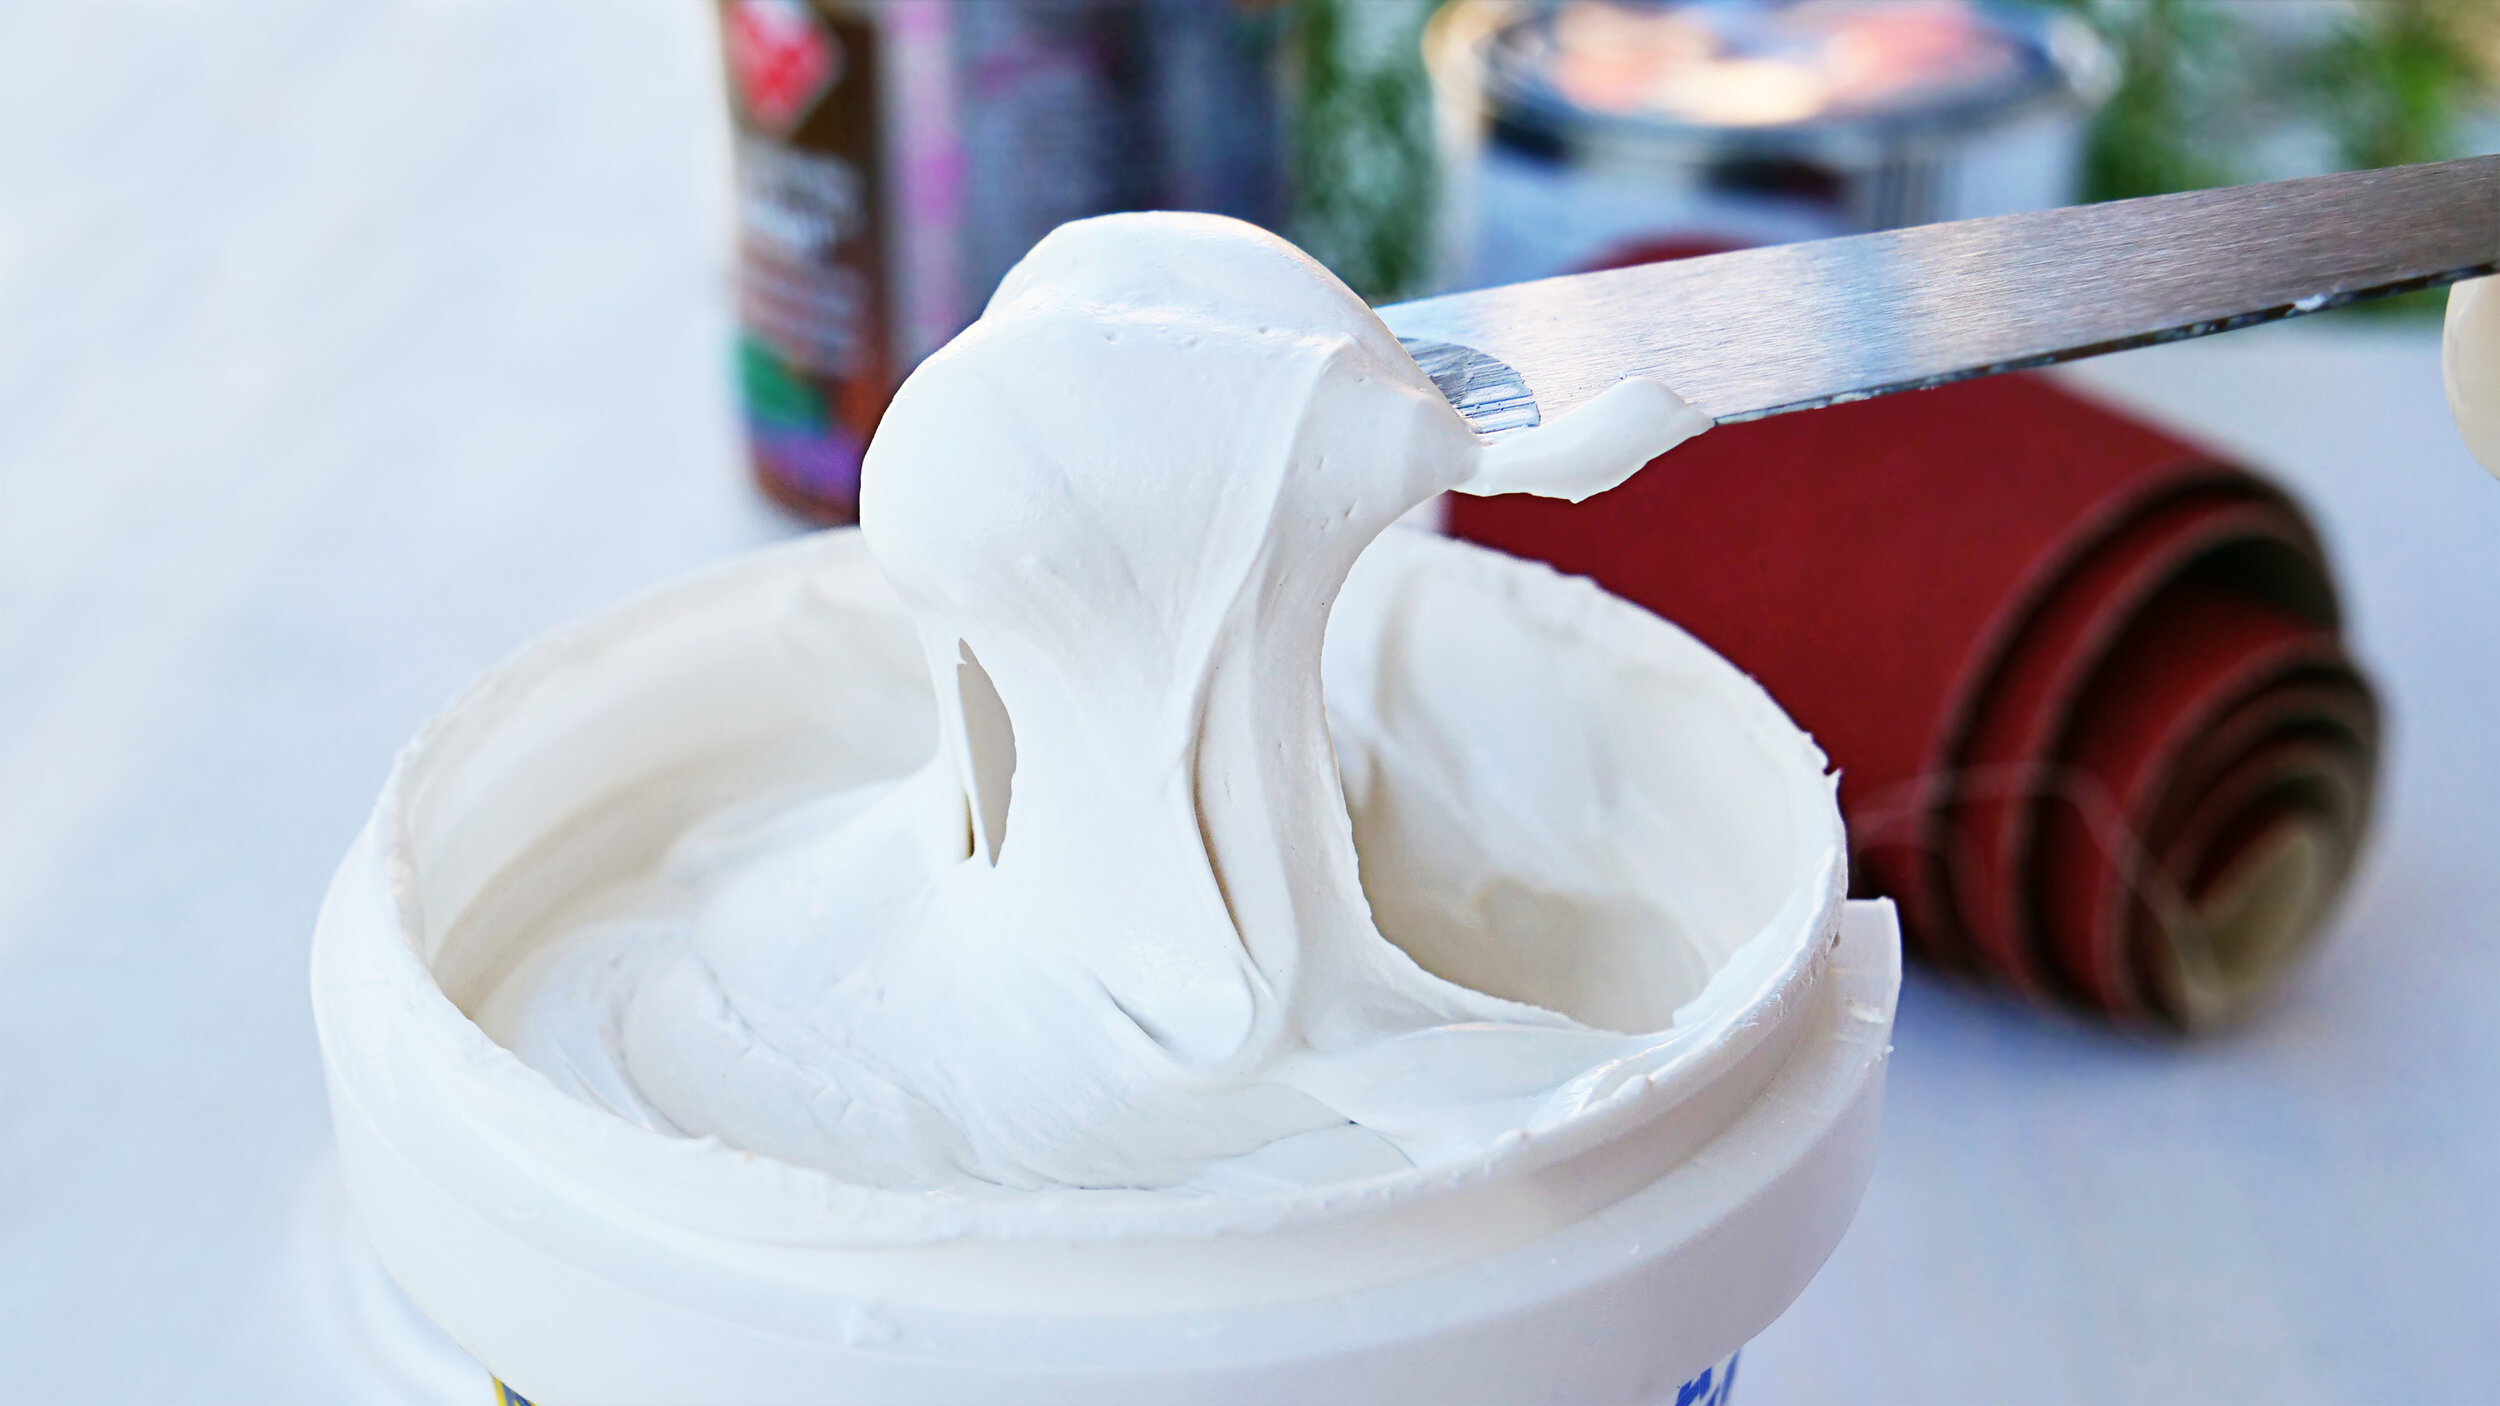
You might not think about this one, but it’s important to pay attention to the packaging. Wood fillers generally come in the following containers: tubs, squeeze tubes, and sticks.
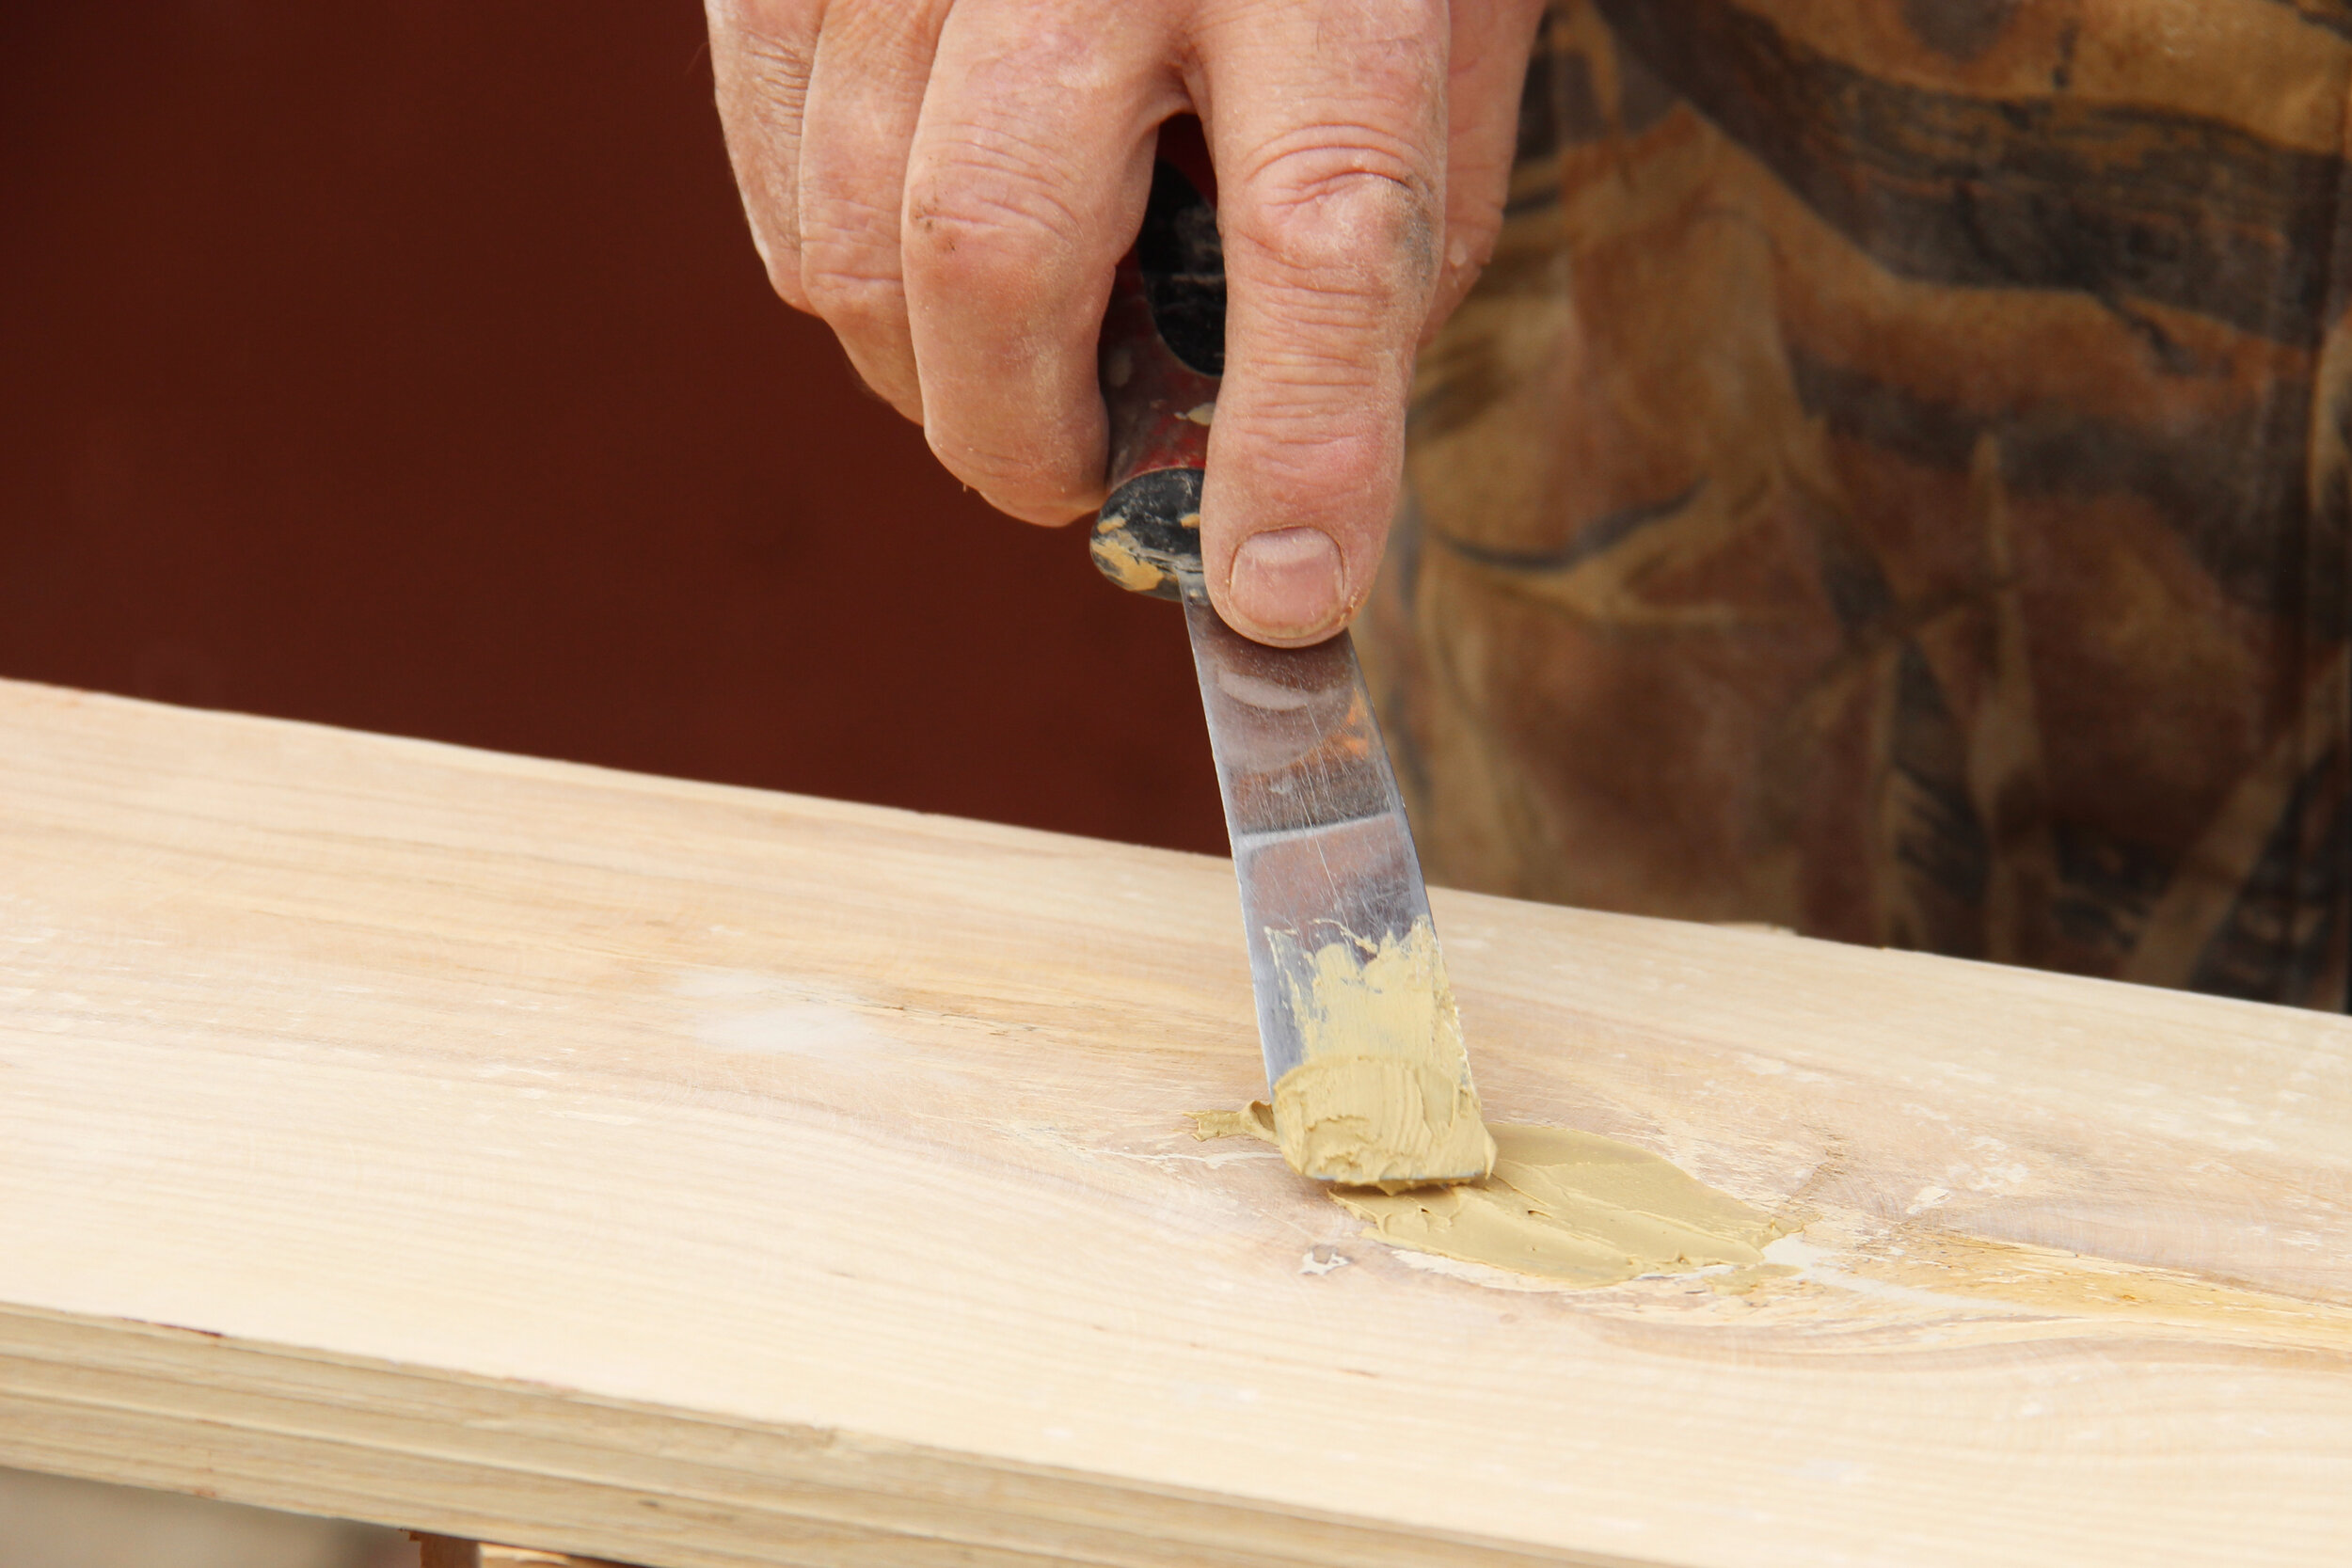
If you are getting ready to tackle a large project where you will need to use a lot of product, a tub will be your best choice. They are the most cost-effective due to their large size, and you can generally apply the filler directly to your piece using a knife or a spreader.
Squeeze tubes are excellent for projects that involve filling in voids or pores on wood grain. These tubes are intuitive and easy to use — you simply squeeze the product directly out of the tube onto the application. They will cost you a bit more in the long run than tubs, but they will save you the hassle of using a spreader.
Sticks are the least cost-efficient, but they’re great for repairing small cracks or scratches on the surface of your wood.
Conclusion
Knowing how to use a wood filler might seem over-the-top for a homeowner, but just wait until a dent appears in your kitchen cabinets or a nick appears on the top of your wooden coffee table.
The versatile properties of wood filler will be your saving grace. Even if you’ve never worked with it before, it’s easy for anyone to learn how to use it — and soon, this product will be a staple in your toolbox.
Brandon Hubbard, AIA, NCARB, LEED AP BD+C
